A marked-up van, dusty company car or lorry with neglected wheels says something about the business before the driver has said a word. A consistent fleet vehicle cleaning checklist gives drivers, valeters and site teams a clear standard to work to, whether you run five sales cars or a busy delivery fleet. It also helps prevent the small issues that become expensive ones, from corrosive road salt on chassis components to smeared glass that compromises visibility.
The best routine is not necessarily the most detailed one. It is the one your team can complete properly, at the right intervals, with the right chemicals and equipment. Use this checklist as a working process, then adjust it for vehicle type, mileage, operating conditions and your customer-facing requirements.
Start with a practical cleaning schedule
A fleet that covers urban delivery routes needs more frequent attention than vehicles used mainly for motorway travel. Likewise, a builder's pickup or a refuse vehicle will need a tougher exterior wash process than a company pool car. Set standards around use, not simply the calendar.
For most fleets, drivers should carry out a quick visual check at the start or end of each shift. Exterior washing is commonly needed weekly, while interiors may need a light clean daily and a deeper reset every one to four weeks. During winter, increase washing frequency where salt, grit and standing water are common. Leaving traffic film and salt deposits on paintwork, wheels and underbody areas for weeks is false economy.
Assign ownership before problems arise. Drivers can deal with rubbish, personal belongings and obvious spills, while a trained operative or valeting contractor handles exterior washing, chemical dilution and periodic deep cleans. If the same person does both, keep the process simple enough to be repeatable during a busy shift.
Pre-wash fleet vehicle cleaning checklist
Before water or chemicals are applied, inspect the vehicle in good light. This protects the operator, identifies defects and stops existing damage being blamed on the wash process.
Check the following before each full clean:
- Record fresh dents, cracked lights, damaged mirrors, loose trims and windscreen chips.
- Remove rubbish, paperwork, bottles and loose equipment from the cab, load area and door pockets.
- Check for leaks, unusual tyre wear, heavily contaminated wheels and excessive brake dust.
- Confirm doors, windows, fuel caps and tailgates are closed, and protect any sensitive electrical connections.
- Park on a suitable wash area with controlled drainage where possible, particularly when using stronger traffic film removers.
Exterior wash process: clean without causing damage
Start with a cool vehicle wherever possible. Applying cleaner to hot paintwork can cause it to dry too quickly, leading to streaking and uneven results. Direct sunlight is not always avoidable, but work panel by panel and never allow chemicals to dry on the surface.
1. Apply pre-wash to remove traffic film
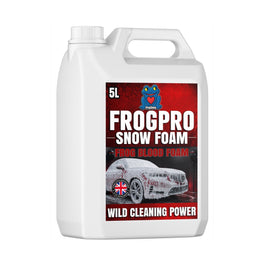
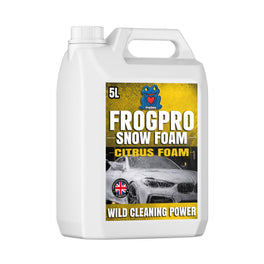
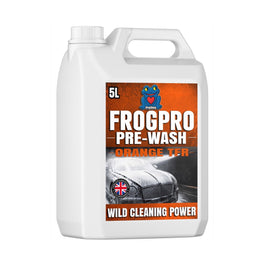
Use a suitable traffic film remover or pre-wash cleaner at the correct dilution for the soil level. A lightly used company car may only need a mild mix, while vans working around construction sites may need a stronger dilution. More chemical is not automatically better. Over-concentrated product wastes stock, raises costs and can be harsh on delicate finishes, polished aluminium or unprotected trims.
Apply from the lower sections upwards so the product has a chance to work evenly. Allow the stated dwell time, but do not let it dry. On heavily soiled fleet vehicles, a second application can be more effective and safer than one overly strong mix.
2. Clean wheels, tyres and arches separately
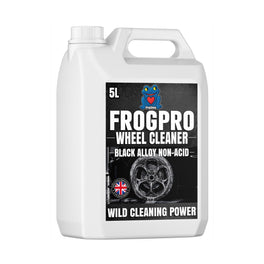
Wheels need dedicated attention because brake dust, mud and road salt build up quickly. Apply a wheel cleaner suited to the wheel finish, agitate with appropriate brushes and rinse thoroughly. Do not use the same brush on wheels and paintwork.
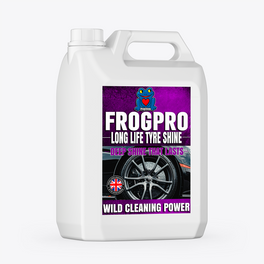
Clean tyres and wheel arches at the same time. A proper tyre cleaner removes old dressing, mud and brown residue, giving any later tyre dressing a more even finish. For working fleets, a clean satin tyre finish is normally more practical than a high-gloss dressing that can sling onto bodywork.
3. Rinse thoroughly, then shampoo safely
Use a pressure washer to rinse off loosened contamination from top to bottom. Keep a sensible distance from paintwork, decals, sensors, door seals and damaged areas. High pressure can lift weak graphics, force water past worn seals or worsen existing damage.
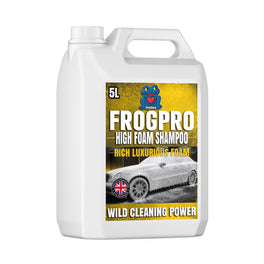
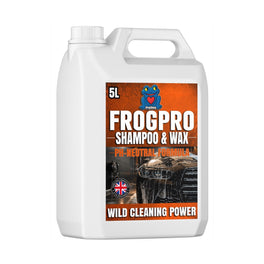
Wash paintwork with a quality vehicle shampoo using clean wash media. A two-bucket method is useful for smaller cars and high-finish vehicles, while a controlled brush system may be the efficient choice for high-volume van or lorry fleets. The trade-off is simple: speed matters, but dirty brushes and poor technique can create swirls. Keep brushes clean and reserve softer equipment for customer-facing cars.
4. Rinse, dry and protect key surfaces
Rinse all shampoo away, paying close attention to mirrors, door shuts, number plates and grilles. Drying with a blower or clean microfibre towels reduces water spotting and gives the operative a final chance to spot missed dirt or damage.
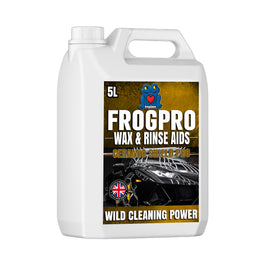
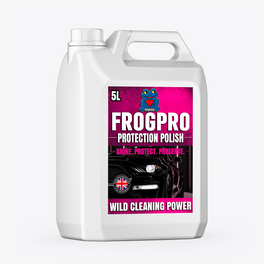
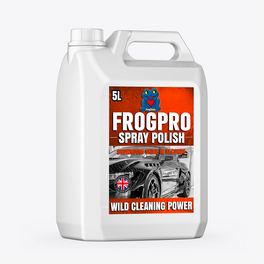
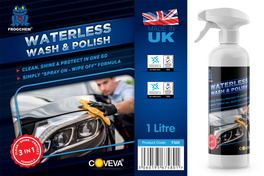
Use a glass cleaner on windscreens, side windows and mirrors. Clear glass is a safety requirement, not a finishing extra. Where the fleet presentation matters, apply a quick spray wax or paint protection product after washing. It will improve gloss, make later cleaning easier and help reduce grime adhesion, but it should not replace proper decontamination or paint correction on neglected vehicles.
Interior and cab checklist
The cab is the part drivers and customers experience most closely. It is also where poor habits show up quickly. Food wrappers, dusty dashboards and stained seats make a vehicle feel poorly managed, even when the exterior is clean.
Remove loose rubbish first, then vacuum seats, carpets, mats, boot areas and pedal surrounds. Pay attention to seat rails, door pockets and the gap between seats and the centre console, where debris accumulates. For vans, include the load area if it is visible to customers or regularly used by staff.
Use an interior cleaner suitable for plastics, vinyl and hard surfaces. Wipe steering wheels, gear levers, door handles, switches, grab handles and touchpoints carefully. Avoid soaking buttons, screens, radios or instrument panels. A lightly damp microfibre is usually safer and gives better control than spraying product directly into the cabin.
Clean internal glass last. Greasy windscreen haze is particularly common in vehicles used by multiple drivers, and it can become distracting in low winter sun or at night. Finish by checking that floor mats are secure and cannot interfere with pedals.
Periodic deep-clean tasks
A daily or weekly wash will not deal with every problem. Build a deeper clean into the fleet plan every few months, or more often for hard-working vehicles. This is the right time to shampoo fabric seats, treat stains, clean headlinings with care, flush mud from wheel arches and remove tar or fallout from paintwork using the correct specialist products.
Inspect door shuts, hinges, fuel fillers, roof gutters and behind number plates. These are often missed during fast washes but hold moisture and grime. For lorries and vans, include steps, grab rails, loading thresholds and rear door seals. Keeping these areas clean improves appearance and helps operatives spot wear before it causes a failure or repair bill.
If you use decals, chevrons or reflective markings, inspect them as part of the deep clean. Dirt reduces their impact, while lifting edges or faded sections may need replacement rather than more aggressive cleaning.
Chemical control and equipment standards
Fleet cleaning becomes inconsistent when every operator uses a different product, dilution or brush. Keep chemical containers clearly labelled, use measured dilution systems where possible and provide simple instructions at the wash bay. Operators should follow product labels and safety information, wear suitable gloves and eye protection, and never mix chemicals.
Store microfibres, brushes and applicators by job. Wheel tools, interior tools and paintwork wash media should remain separate. Replace contaminated or worn equipment promptly. A cheap brush full of grit can create more work than it saves.
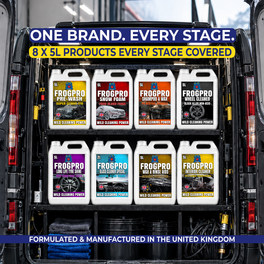
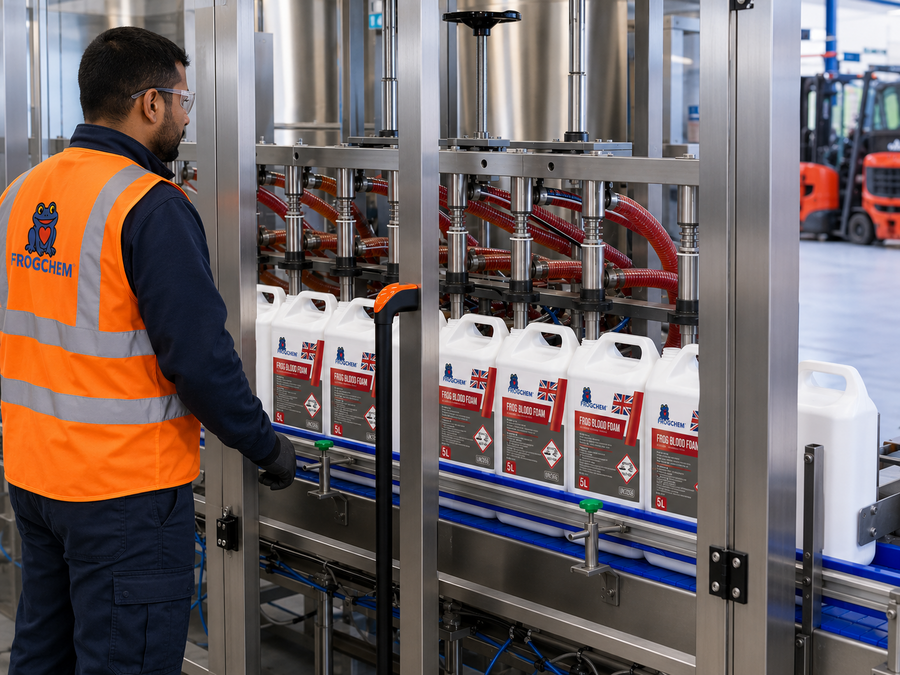
For businesses managing routine cleaning in-house, FrogChem can help simplify replenishment by bringing vehicle chemicals, detailing accessories and wash equipment into one supply route. The key is choosing products that suit your real workload, rather than buying a premium process that nobody has time to follow.
A clean fleet is easier to inspect, safer to operate and far more credible at a customer doorstep. Keep the checklist visible, review it after a few weeks of use, and let the condition of your vehicles set the standard for the next job.