A proper car paint correction guide starts with one hard truth: not every mark on a vehicle should be polished out. A light wash scratch may respond well to a finishing polish, while a deep key mark that catches your fingernail may already be through the clear coat. Knowing the difference prevents wasted time, unnecessary paint removal and disappointing results.
For valeters, dealerships and serious home detailers, paint correction is where a clean vehicle becomes a vehicle that looks genuinely cared for. Done properly, it improves gloss, clarity and colour depth. Done aggressively, it can leave holograms, thin the clear coat or create heat damage around edges. The aim is always to make the paint look its best while removing only as much material as necessary.
What car paint correction actually does
Most modern vehicles have a colour coat protected by a clear lacquer layer. Over time, that clear coat picks up wash marring, swirl marks, oxidation, bird-dropping etching, water-spot marks and random light scratches. These defects scatter light instead of reflecting it cleanly, which is why paint can look dull even after a thorough wash.
Paint correction uses machine polishing, suitable pads and abrasive compounds to level the surface around those imperfections. It does not fill defects in the way some glazes, waxes and all-in-one products can. A good correction removes or significantly reduces defects so the improved finish remains after the protection product has worn away.
The result depends on the paint, the defect depth and the available time. Soft paint can correct quickly but may mark easily during finishing. Hard paint often takes more cut and more working time, but can produce a very sharp final gloss. Older single-stage paint also behaves differently from modern clear-coated systems, so there is no single pad and polish combination that works perfectly on every car.
Inspect before reaching for the polisher
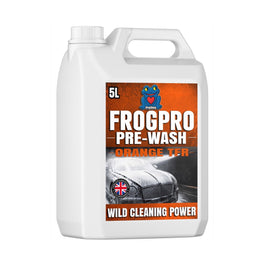
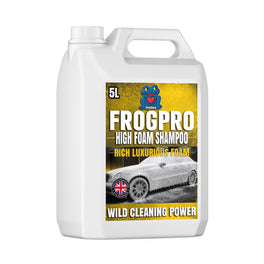
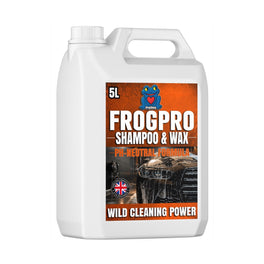
Correction should never start on a dirty panel. Traffic film, grit and bonded contamination can clog pads and cause fresh marring while you work. Begin with a safe pre-wash and contact wash, using a suitable traffic film remover or snow foam where needed. Rinse thoroughly, use a quality shampoo with a clean wash mitt, then dry with a soft drying towel.
Once the paint is clean, decontaminate it. Iron fallout removers deal with embedded ferrous particles, while a clay bar or clay mitt can remove bonded surface contamination. Claying leaves paint smooth, but it can also introduce light marring, particularly on softer finishes. That is normal because the following polishing stage is designed to refine it.
Move the vehicle into good lighting before assessing the paint. Daylight helps, but focused inspection lighting is better for spotting swirls and holograms. Look at each panel from more than one angle. Note the difference between defects that are visible only under inspection light and marks that are obvious from several feet away. The latter normally deserve priority on a customer vehicle.
If you have access to a paint depth gauge, use it. It is especially useful on used vehicles, repainted panels and prestige work. A reading alone does not tell the full story, but unusually low, high or inconsistent readings are a reason to proceed cautiously. Edges, body lines, door handles and raised styling creases naturally carry less paint and should receive minimal polishing.
The fingernail test
Run a clean fingernail lightly across a scratch. If it does not catch, there is a fair chance a suitable correction process can reduce it substantially. If it catches clearly, the defect is likely too deep for safe full removal. It may still be softened and made less noticeable, but chasing it until it disappears can mean removing too much clear coat.
That judgement matters in trade work. A sensible 70 to 90 per cent improvement often looks excellent in real conditions and preserves more paint than attempting a risky near-perfect result.
Choosing the right correction approach
A one-stage enhancement is the practical choice for many daily-driven cars. It uses a medium or one-step polish with an appropriate foam, microfibre or wool pad to reduce general swirls and restore gloss in one process. It is faster, more cost-effective and often gives a dramatic visual improvement.
A two-stage correction is better suited to paint with heavier defects. The first stage uses a cutting compound and firmer pad to tackle deeper swirls, oxidation and sanding marks. The second stage uses a finishing polish and softer pad to refine the surface, remove haze and maximise gloss. This takes longer, but it is often the right route for dark paint, show cars and high-value stock where clarity matters.
Spot correction can be useful for isolated scuffs, boot loading marks or marks around door handles. However, do not treat every panel as a collection of spots. Blending your work across sensible panel sections helps keep the finish consistent.
Rotary polishers offer strong cutting ability and are effective in experienced hands, particularly on harder paint. Dual-action machines are generally more forgiving because their motion reduces the risk of concentrated heat and holograms. For many home users and busy valeting teams, a dual-action machine is the sensible starting point. It is still possible to damage paint with one, so technique and panel awareness remain essential.
Car paint correction guide: the working process
Before applying polish across the vehicle, complete a test spot. Choose a representative section of paint, usually around 40 cm by 40 cm, away from delicate edges. Start with the least aggressive combination likely to work. This may be a medium polish and polishing pad rather than immediately reaching for a heavy-cut compound.
Prime the pad lightly, use only enough product to create a thin working film, and spread it at low speed before increasing speed for the correction passes. Keep the pad flat, move slowly and overlap each pass. Let the machine and abrasive do the work rather than forcing pressure into one area.
After a few controlled passes, wipe the section with a clean microfibre cloth and inspect it. Some polishes contain lubricating oils that can mask remaining defects, so a panel wipe is useful when you need an honest view of the finish. If the result is not sufficient, increase pad or polish aggressiveness one step at a time. If the finish looks hazy after cutting, follow with a refining polish and finishing pad.
Clean pads regularly. A saturated pad cuts inconsistently, runs hotter and can reintroduce residue to the paint. For larger jobs, have several pads of each type available and rotate them as they become loaded. This is a small operational detail that makes a major difference to consistency, especially when correcting several vehicles in a day.
Mask vulnerable areas such as unpainted trim, rubber seals, badges, sharp panel edges and damaged paint. Polishing residue can stain textured plastics, while aggressive pad contact can quickly damage a raised edge. Keep cables away from the panel and avoid working for too long in one place.
Do not polish hot paint in direct sun. Heat causes polish to dry too quickly and makes inspection harder. A cool, dry working area gives better control. If mobile work is unavoidable, work panel by panel in the shade and adjust expectations around the condition of the vehicle.
Common mistakes that cost finish quality
The most common error is correcting paint before properly washing and decontaminating it. The second is using too much compound. More product does not mean more cut. It usually means more residue, a clogged pad and longer wipe-down time.
Another mistake is treating online pad colour charts as universal. Pad colours vary between manufacturers, so a yellow pad from one range may not cut like a yellow pad from another. Choose based on the stated pad function, test it on the paint and inspect the result.
Poor lighting can also make a correction look better than it is. Holograms and unremoved swirls often appear only when the car leaves the unit and sits under sunlight or forecourt lighting. Inspect after every major stage with a proper light source, not just by looking at the panel from standing height.
Finally, do not overpromise defect removal. Stone chips, lacquer failure, deep scratches and severe etching may need touch-up, wet sanding by a trained professional or repainting. Machine polishing is highly effective, but it cannot replace missing paint.
Protect the corrected finish
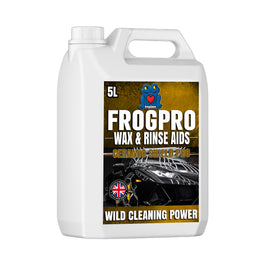
Freshly corrected paint needs protection straight away. A wax offers warmth and strong visual appeal, but generally needs more regular topping up. A synthetic sealant usually gives longer durability and easy maintenance. Ceramic coatings can offer strong chemical resistance, water behaviour and extended protection, but preparation must be thorough and application conditions need to be controlled.
For a customer vehicle, match protection to how it will be used. A daily car parked outside benefits from durable, low-maintenance protection. A weekend vehicle may suit a wax-focused finish if the owner enjoys regular detailing. For valeting businesses, the best option is often the one that delivers consistent results within the booked time and can be maintained easily by the customer.
Maintenance decides how long correction results remain visible. Use a proper pre-wash to remove loose grime, wash with clean mitts and buckets, avoid harsh brushes, and dry carefully. Automatic brush washes are a fast route back to swirl marks, especially on dark paint. Quality shampoo, clean microfibres and sensible wash technique protect the work you have already paid for or spent hours completing.
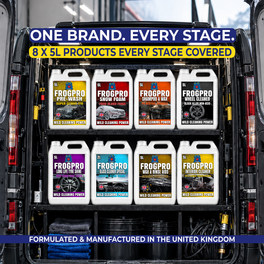
FrogChem customers can build a practical correction setup around the essentials: safe wash chemicals, decontamination products, machine pads, polishing compounds, microfibre cloths and a protection product that suits the vehicle's routine. The strongest results come from using each product for its intended job rather than expecting one bottle to do everything.
A corrected finish should still look good after the inspection lights are switched off. Work patiently, preserve paint where you can, and make future maintenance easy - that is what keeps a vehicle looking sharp long after polishing day.