A bonnet covered in dried flies can make a freshly cleaned vehicle look neglected within one motorway run. The temptation is to scrub them off at the next fuel stop, but that is how light swirls and dull patches end up in the clear coat. To remove insect marks from paintwork properly, soften the contamination first, wash it away with lubrication, then restore protection before the next journey.
This applies whether you are turning around a dealership vehicle, maintaining a fleet of lorries or keeping your own car looking right at the weekend. Fresh insect residue is usually straightforward. Leave it baked onto warm paintwork for days, especially in summer, and it becomes more difficult because it contains proteins and acids that can mark unprotected lacquer.
Why insect marks need prompt attention
Insect remains are not just surface dirt. Once the moisture evaporates, the residue bonds to the paint and can leave a faint etched outline behind. Dark paintwork, white bonnets and high-mileage front ends tend to show the problem most clearly, but any vehicle can be affected.
Heat makes matters worse. A car left in direct sunlight after a long drive gives contamination time to dry hard on the bumper, grille, mirrors and leading edge of the bonnet. Repeated scrubbing then risks creating fine scratches that are more noticeable than the original marks.
The right approach is not necessarily aggressive. In most cases, a dedicated insect remover or pre-wash cleaner, sensible dwell time and a safe contact wash will do the job. Stronger chemical action is useful for neglected vehicles, but it should never replace good wash technique.
What you need to remove insect marks from paintwork
For routine jobs, use a pH-appropriate insect remover or pre-wash, a pressure washer or hose, quality car shampoo, a clean wash mitt and soft drying towel. A detailing brush can help around number plates, badges and grille slats, provided it is suitable for exterior use and kept clean.
Finish with a spray sealant, wax or other paint protection. This is often missed, yet it is what makes the next wash quicker. Insects still hit the vehicle, of course, but they are less likely to cling as firmly to a protected, slick surface.
Avoid washing-up liquid, household degreasers, rough sponges and dry microfibre cloths. They may appear to shift the mess quickly, but they can strip existing protection or drag grit over the paint. For busy valeting bays, using dedicated chemicals also creates a more consistent process across every vehicle.
The safe wash process
Work on cool paintwork
Park out of direct sunlight and let the front end cool before applying product. Chemicals dry too quickly on hot paint, reducing their cleaning time and increasing the chance of streaking. If the vehicle has just come off the road, even ten minutes in the shade can make the job easier.
Start by rinsing the affected areas thoroughly. This removes loose grit that could otherwise be moved around during the contact wash. Pay attention to the bonnet, bumper, windscreen surround, mirrors, headlights and the lower front grille.
Apply insect remover and allow it to work
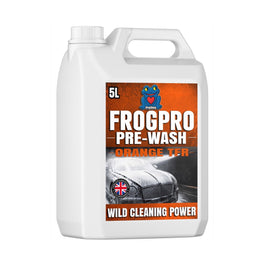
Apply the insect remover evenly to the contaminated sections, following the dilution and dwell-time guidance on the label. The aim is to soften the residue, not let the product dry on the vehicle. On a heavily soiled front end, a second application may be safer and more effective than overworking the first.
During the dwell period, you should see stubborn spots start to loosen. Do not attack them with a brush straight away. Rinse first, preferably with a pressure washer, using a controlled fan pattern rather than holding the lance too close to the paint or delicate grille components.
A traffic film remover can be useful alongside this stage for commercial vehicles and daily drivers carrying heavier road grime. However, it depends on the product strength, the condition of the paint and existing protection. Use the least aggressive effective option, particularly on regularly maintained vehicles.
Wash with proper lubrication
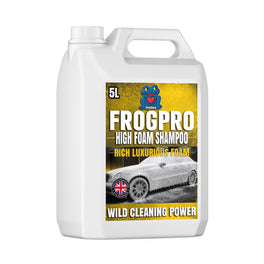
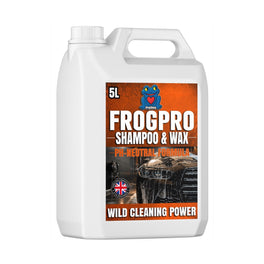
After the pre-wash rinse, shampoo the vehicle using a clean mitt and plenty of lubrication. Work from the top down, leaving the dirtiest lower sections until last. On the front bumper and bonnet, use light, straight passes rather than pressing hard in circles.
If an insect mark remains after washing, reapply insect remover to that spot and allow another short dwell. A soft microfibre applicator may help lift softened residue, but only with shampoo or product providing slip. Never pick at dried marks with fingernails, plastic cards or a dry towel.
Rinse thoroughly and dry with a plush, clean drying towel. Blotting or gently pulling the towel across the panel is safer than vigorous rubbing. This is also the point where you can inspect the paintwork properly, before water spots or missed residue disguise the finish.
When marks have etched into the lacquer
Sometimes the contamination is gone but a faint shadow remains. This is usually not an insect mark sitting on the surface - it is minor etching in the upper clear coat. Extra bug remover will not correct it, and repeatedly applying strong chemicals may do more harm than good.
First, wash and dry the panel properly. Then assess it under good light. If the mark cannot be felt and is only visible at certain angles, a suitable finishing polish may reduce or remove it. This should be approached carefully, especially on thin, older or previously polished paintwork.
For trade users, a test spot is the sensible route before machine polishing a whole bonnet. Start with the mildest pad and polish combination likely to work, inspect the result, then step up only if needed. If the mark is deep, widespread or on a valuable vehicle, professional paint correction is the better call. Chasing perfection too aggressively can remove more clear coat than the result justifies.
Protect the front end after cleaning
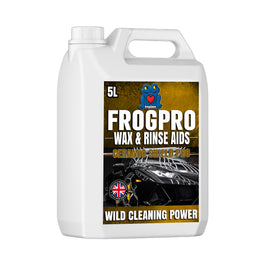
Once the paint is clean, apply a durable layer of protection. A quick spray sealant is ideal when time matters, while a quality wax, synthetic sealant or ceramic coating can offer longer-lasting resistance depending on the product and preparation.
Protection does not make the car insect-proof. What it does is reduce bonding, improve water behaviour and make the next pre-wash more effective. This matters for motorway commuters, driving schools, delivery vehicles and anyone travelling regularly through warm weather.
Do not forget adjacent surfaces. Headlights, gloss-black trim, mirror caps and number plates also collect insect residue. Use products that are compatible with those materials, and avoid allowing strong alkaline cleaners to dwell unnecessarily on sensitive trim or damaged surfaces.
Keep the problem from building up
The best time to deal with bugs is soon after the journey, before the residue has a chance to harden. A quick front-end rinse and a targeted insect-remover application can save a longer correction job later in the week. For hand car washes and valeters, making this part of the initial pre-wash stage also prevents contaminated front-end grime being carried into the contact wash.
Keep a simple routine: inspect the front of the vehicle after long journeys, wash contamination off while it is fresh, and top up protection regularly. In peak insect season, a light maintenance wash every week or two is usually easier on paintwork than waiting for a thick, baked-on layer to develop.
For a vehicle that earns its keep or simply represents your standards, the difference is clear. Treat insect residue early, use purpose-made products with enough dwell time, and let the chemistry do the hard work rather than the wash mitt.