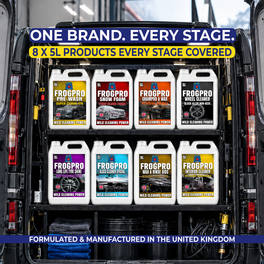
A ceramic coating should make your vehicle easier to keep clean, not give you permission to stop washing it. Road film, winter salt, bird droppings, hard-water marks and poor wash technique can all dull the finish or clog the coating’s water behaviour. This ceramic coating maintenance guide sets out a practical routine for daily drivers, valeting bays and vehicles that need to look properly cared for between deeper details.
What ceramic coating maintenance is really for
Ceramic coatings form a durable protective layer that improves gloss, chemical resistance and water repellency. They do not make paintwork scratch-proof, self-cleaning or immune to contamination. A coated vehicle still collects grime, especially around lower doors, mirrors, rear panels and wheels.
Good maintenance preserves the coating rather than repeatedly stripping and rebuilding its performance. The aim is simple: remove dirt safely before it bonds to the surface, avoid unnecessary contact, and use products that leave no heavy residue behind.
For trade users, this matters because a vehicle can come back from one poor wash with swirl marks, water spotting and flat-looking paintwork. For home users, it means the original coating investment continues to deliver the glossy, easier-cleaning finish it was bought for.
Start with the right wash routine
The safest wash is usually a frequent, gentle one. How often depends on mileage, parking conditions and the weather. A vehicle used every day on wet, salted roads may need attention weekly. A garaged weekend car may only need a careful wash every few weeks, provided contamination is removed promptly.
Pre-wash before touching the paintwork
Start with a thorough rinse using clean water. This removes loose grit that could otherwise be dragged over the coating with a wash mitt. Pay attention to the lower half of the vehicle, wheel arches, behind number plates and the rear end, where traffic film builds up quickly.
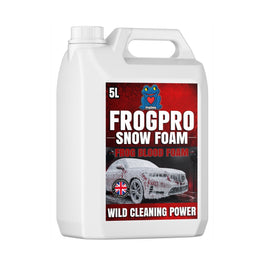
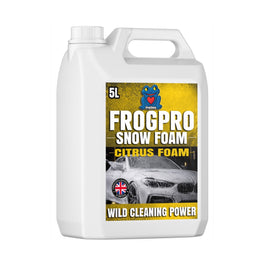
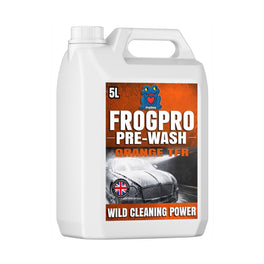
Follow with a coating-safe pre-wash or snow foam. Let it dwell for the recommended time, but do not allow it to dry on the vehicle. Its job is to soften and lift dirt before contact washing, reducing the risk of marring the finish.
A pressure washer is useful here, but technique matters. Keep a sensible distance from the paintwork and avoid concentrating a powerful jet at damaged edges, loose trim or fresh coating work. Pressure does not harm a correctly applied, fully cured coating, but careless use can expose existing weaknesses in paint and trim.
Use a pH-neutral shampoo and clean wash media
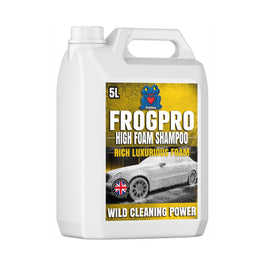
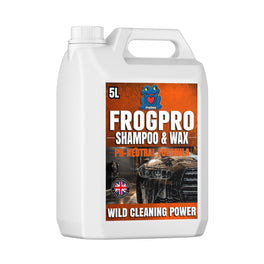
For regular washing, choose a quality pH-neutral shampoo with good lubrication. Strong traffic film removers have a place on heavily soiled commercial vehicles, but they should be diluted correctly and used only where the level of dirt calls for them. Using aggressive cleaner on every wash is unnecessary and may shorten the life of maintenance toppers or leave trim looking tired.
Use the two-bucket method, or a bucket fitted with grit guards, along with a clean microfibre wash mitt. One bucket holds shampoo solution; the other is for rinsing the mitt between panels. Work from the roof down, leaving the dirtiest lower sections until last.
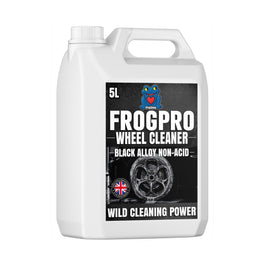
Wheels deserve separate brushes, buckets and cloths. Brake dust and road grime are more abrasive than the dirt found on upper paintwork. Never take the wheel mitt onto the bodywork, even if it still looks clean.
Rinse and dry without creating water marks
Rinse thoroughly so no shampoo remains in panel gaps, badges or around mirrors. If the coating is healthy, water should sheet or bead readily, helping the drying stage.
Use a dedicated drying towel and blot or glide it gently across the surface. Do not scrub at the paintwork. A filtered-air dryer is also useful for wheels, grilles, badges and mirror housings, where trapped water often runs out after the vehicle appears finished.
Drying matters more in hard-water areas. Mineral deposits can etch into the coating or paint if water is left to bake in direct sunlight. Wash in the shade where possible, work on cool panels, and do not leave the vehicle wet while you move on to other jobs.
Avoid the habits that reduce coating performance
The most common coating problems are often wash-process problems. Automatic brush washes are a frequent culprit. Their brushes may hold grit from previous vehicles, creating fine scratches and reducing the crisp gloss that ceramic coatings are meant to enhance.
Avoid washing with household washing-up liquid. It may cut through grime, but it is not designed for vehicle finishes and can strip protective maintenance products, dry out trim and leave the surface less pleasant to work with.
Be cautious with quick-detail sprays, waxes and silicone-heavy dressings. Some can mask poor water behaviour temporarily, but they can also leave residue that changes how the coating performs. If you use a topper, select one specifically intended for ceramic-coated paintwork and apply it sparingly to a clean, dry surface.
Do not use dirty towels, old sponges or one cloth for every task. Reusing contaminated wash media is a fast way to introduce swirls. Professional results come from process control as much as product choice.
Decontaminate when washing is no longer enough
A coating can seem to stop beading even though it has not failed. Often, the surface is clogged with traffic film, limescale, industrial fallout or embedded contaminants. Before assuming the coating needs replacing, wash it properly and assess the surface.
Signs that the coating is contaminated
Look for water sitting flat on panels that previously shed it well, roughness when lightly feeling clean paintwork, or dark specks that remain after a normal wash. Glassy paint can also lose some of its clarity when mineral deposits build up.
Use an iron fallout remover or dedicated fallout treatment when needed, following the product directions carefully. This is particularly useful on vehicles driven in urban areas, near rail lines or through frequent braking conditions. Rinse thoroughly and avoid letting chemical products dry on the surface.
A clay bar or clay mitt can remove bonded contamination, but it should not be the default maintenance step. Clay is abrasive by nature and can mar paintwork if used incorrectly. On a coated vehicle, start with chemical decontamination and only use clay where contamination remains. If the finish feels rough after claying, a light machine polish may be required, which can remove some or all of the coating.
For water spotting, use a suitable water spot remover designed for automotive surfaces. Test it on a small area first, work panel by panel, and do not chase severe etching with stronger chemicals. Deep mineral etching may need professional correction rather than another bottle.
Maintain the coating after decontamination
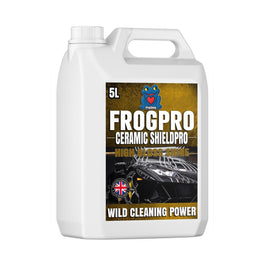
Once the paintwork is clean and decontaminated, a ceramic-compatible maintenance spray or sealant can refresh slickness and water behaviour. This is not a substitute for the base coating, but it can add useful protection and make regular washes quicker.
Application should be simple: spray lightly onto a clean panel or applicator, spread evenly, then buff with a fresh microfibre cloth before the product dries. Using too much is counterproductive. It creates smearing, wastes product and can make the next wash harder.
For busy valeting operations, consistency beats over-application. Build the maintenance spray into the finishing process after a proper wash and dry, rather than applying multiple different protection products to every vehicle.
Treat contamination quickly
Bird droppings, tree sap, fuel spills, insect residue and fresh cement dust should not wait until wash day. Even a strong coating has limits when contamination is left in heat or sunlight.
Keep a clean microfibre cloth and a gentle detailer or rinseless cleaning solution available for safe spot cleaning. Soften the contamination first, lift it away without pressure, then inspect the area. Rubbing hard at dried-on residue is more likely to mark the paint than solve the problem.
Commercial vehicles need particular attention around fuel filler areas, lower doors and rear panels. Lorries, vans and driving-school cars often see heavier mileage and more roadside grime, so their maintenance schedule should be based on use rather than a fixed calendar.
How long should a ceramic coating last?
Durability depends on the coating type, preparation, application quality, storage conditions and maintenance. A professionally applied coating may be marketed for several years, but real-world performance is affected by daily mileage, outdoor parking, wash methods and exposure to salt or industrial fallout.
Water beading alone is not the full measure of coating health. A coating may sheet water rather than form tight beads, particularly after a thorough clean. Check how easily dirt releases, how the paint feels after washing and whether gloss remains consistent. If contamination has been removed and performance is still weak, it may be time for a coating inspection or reapplication.
A good maintenance routine is not complicated. Use clean water, suitable chemicals, fresh wash media and enough time to work carefully. FrogChem customers who treat coating care as part of normal vehicle washing generally get a better finish, fewer avoidable defects and more value from every protection job. Keep the process gentle, deal with contamination early, and the coating will keep doing the hard work where it counts.